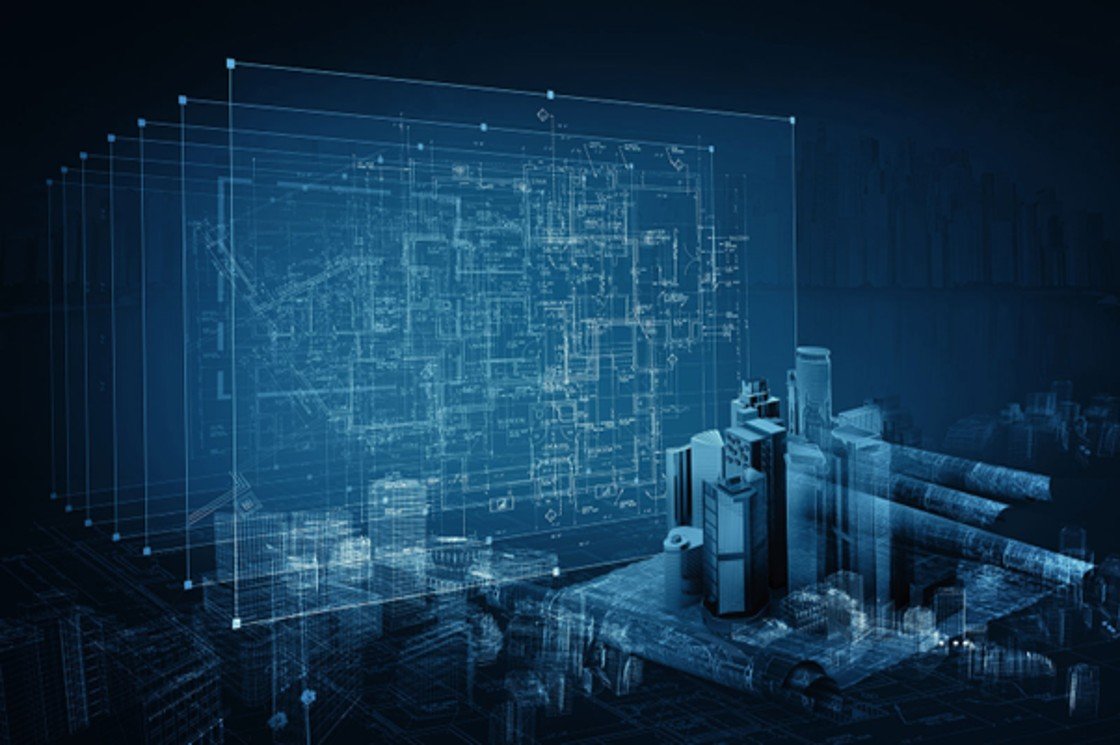
Smarter Working with Top 11 Essential Revit Tools
As BIM modeling takes over the conventional ways of working, Revit has proven to be one of the most powerful tools for the AEC industry. With the knowledge of the right tools in Revit architecture, you’re sure to save time and work more efficiently.
Whether you’re new to the software or a veteran, here are the top 11 Revit tools that are essential to make your workflows easier and precise.
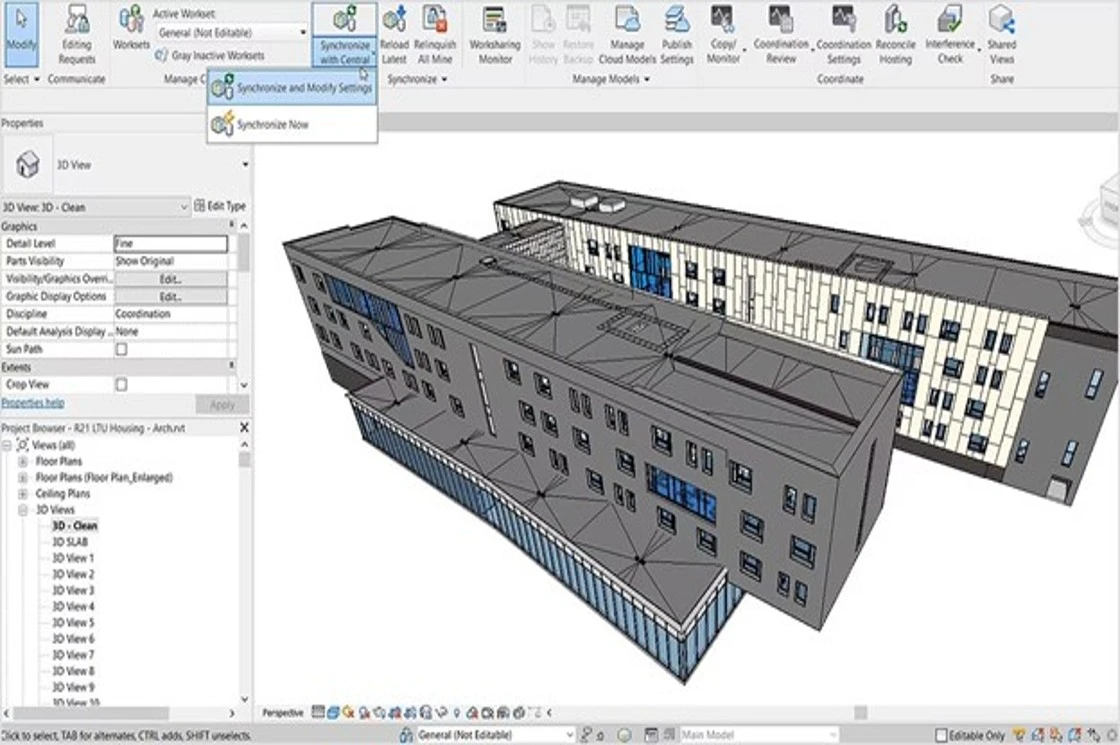
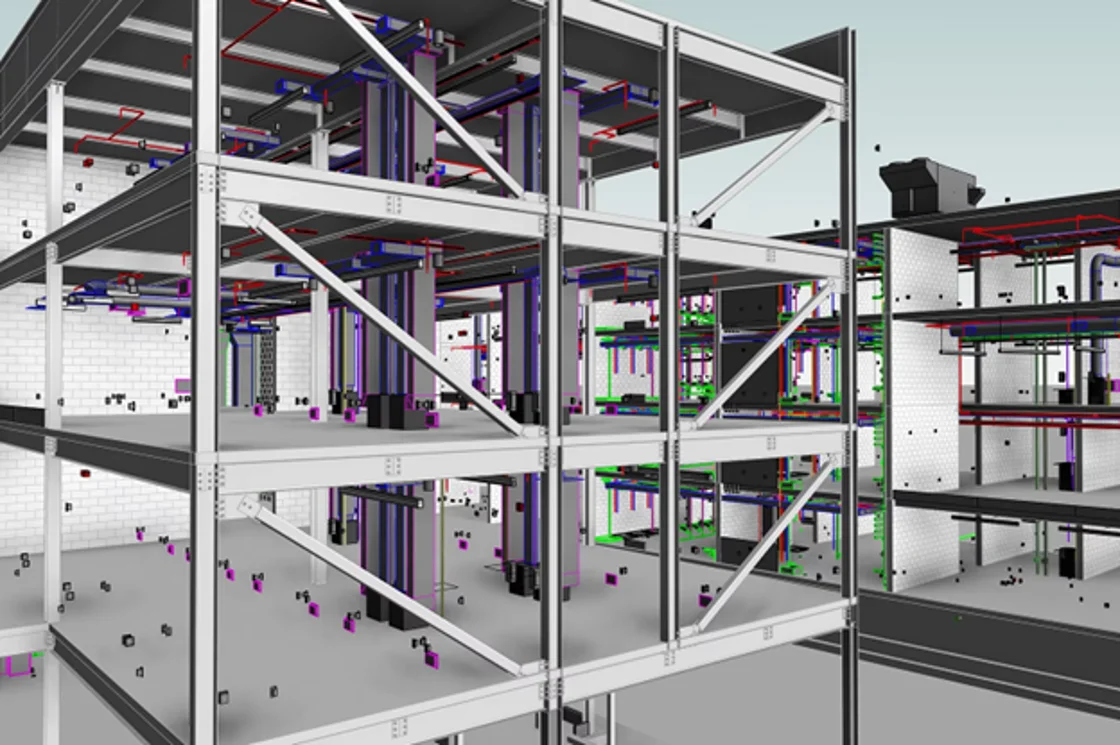
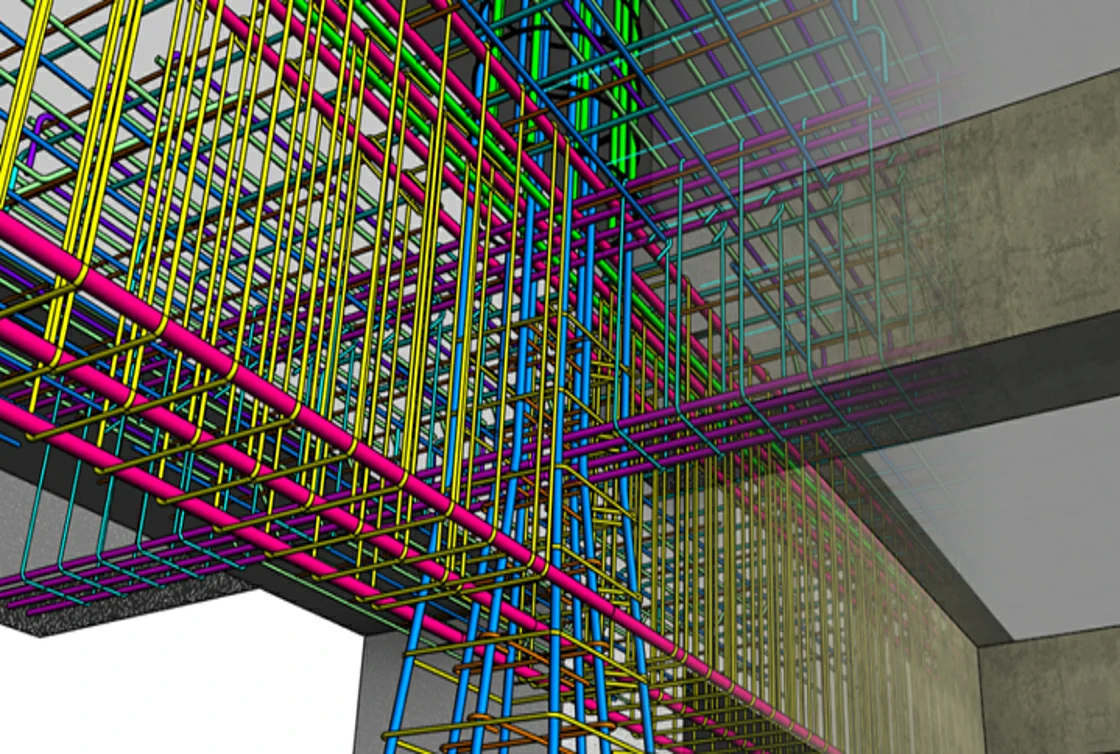
The 11 Essentials of Revit Architecture Modeling
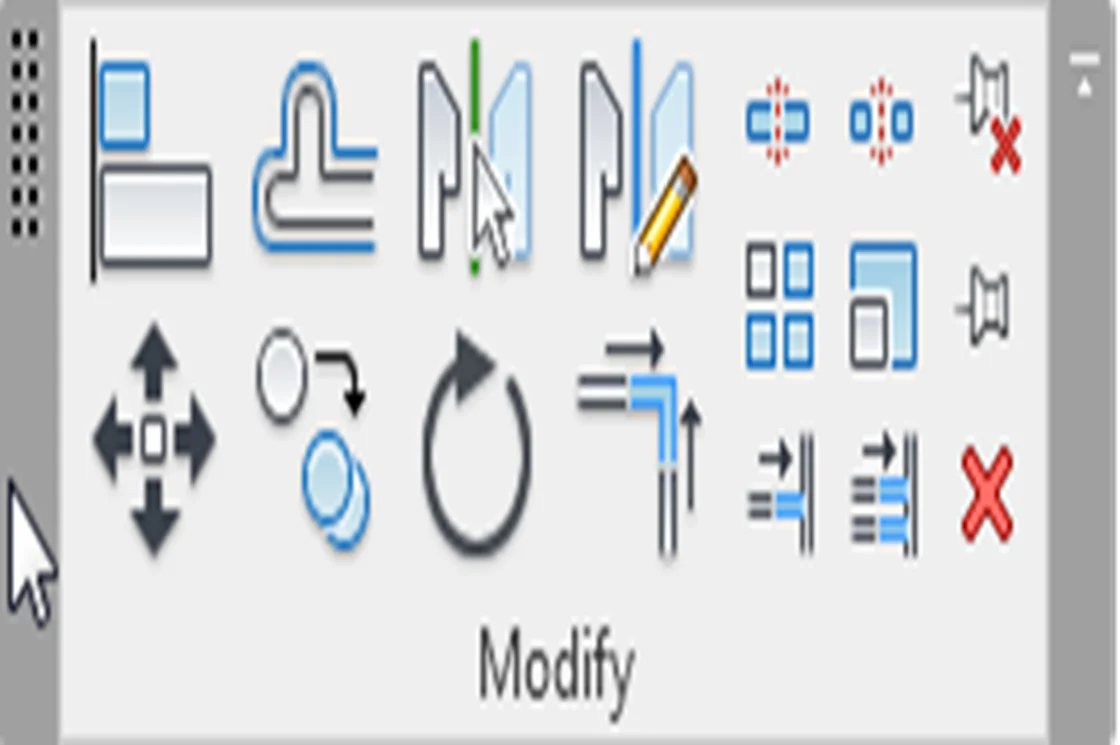
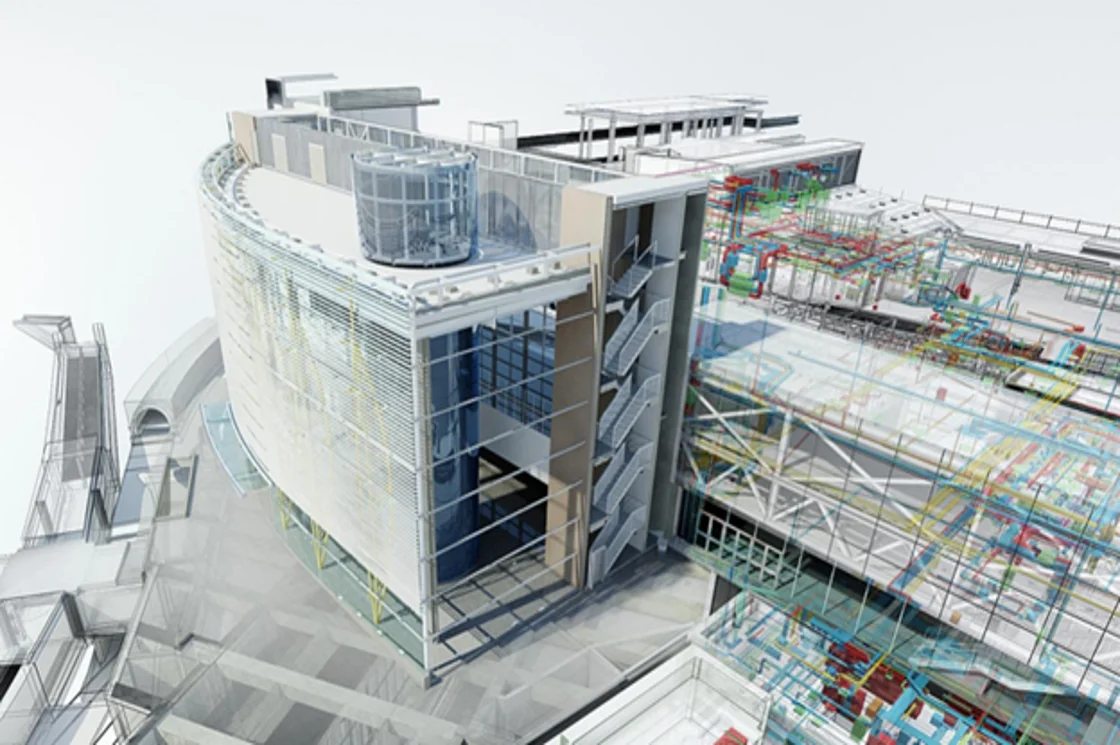
Source: Autodesk
1. Grouping
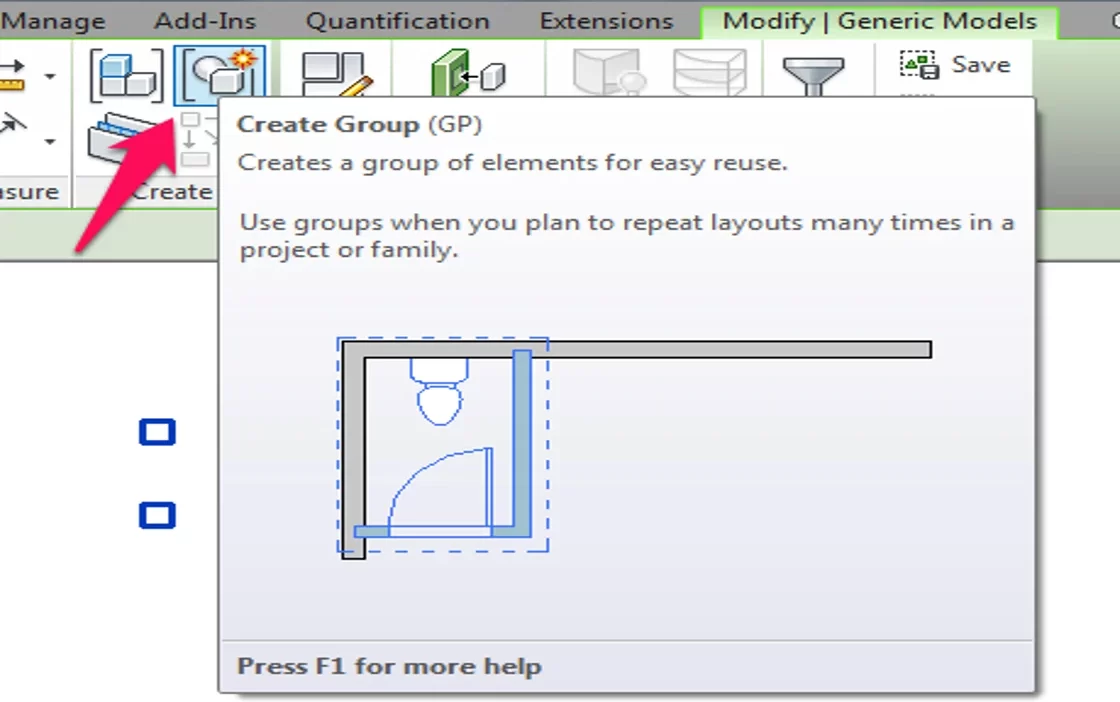
The grouping tools enable selection of similar elements and labeling them under one single group. With this tool, you can group and then place those elements in multiple locations within the same model. This saves time as it cuts down the need to place elements individually. However, it’s important to know when to use this command. One change will be reflected at all the locations, thus, always try to group the final elements.
2. Detail Lines – DL
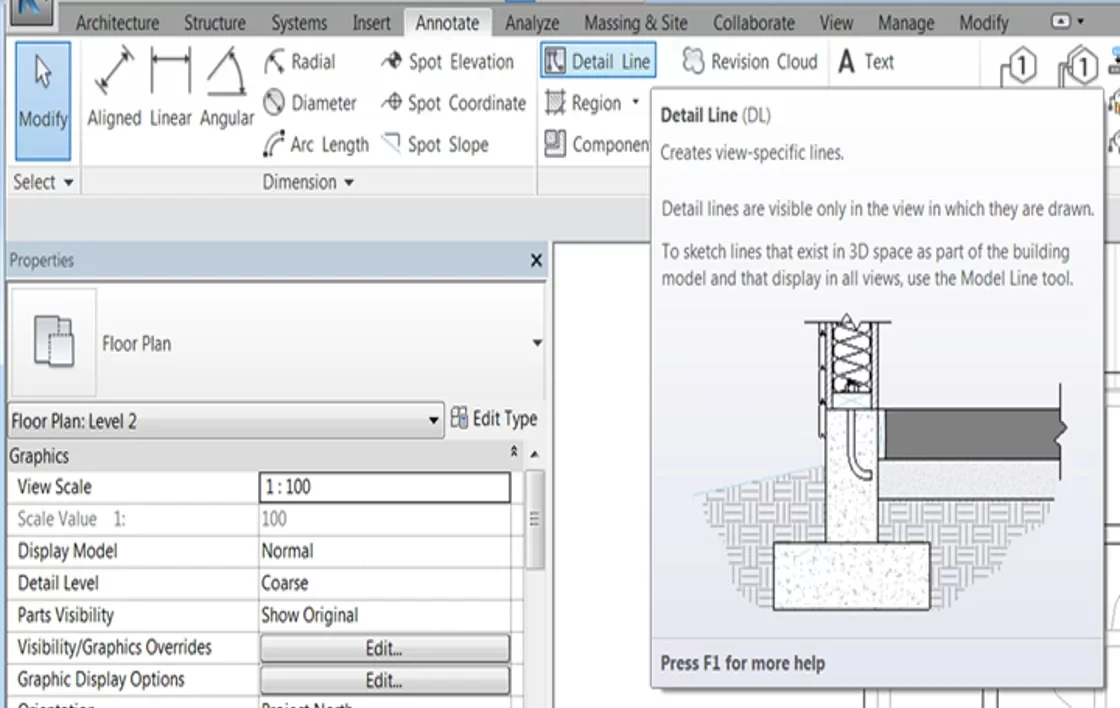
One of the primary goals of working on a project in Revit is to generate layouts and there are instances when not every element can be modeled but we need to show the information in the layout. Now this can be tackled effortlessly with the help of the Detail Lines tool. The line type helps in making quick changes to layouts that can be seen in a single view without disrupting your 3D model. One of the pros or you can say cons of Detail lines is that it’s not linked to the model.
3. Align – AL
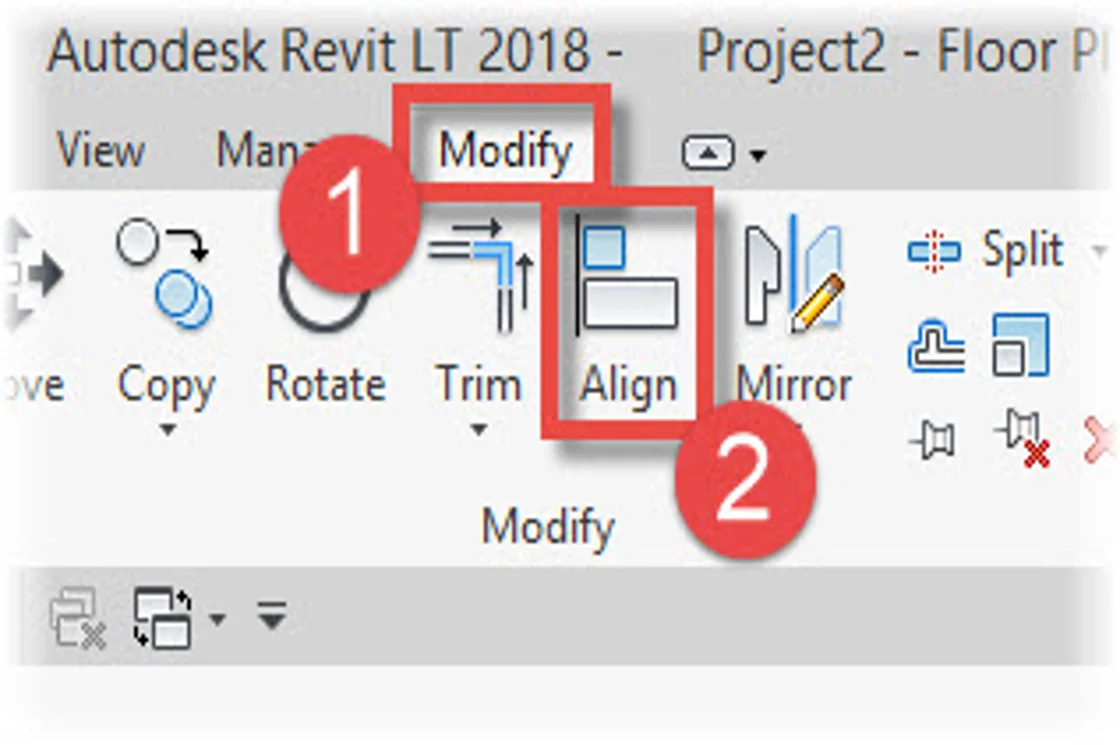
Align tool is the best choice when it comes to modifying Revit elements. The tool enables both the moving and rotation of the selected element at the same time. By letting you select an individual element and move it, it makes the process quicker and easier.
However, while using the tool, keep in mind the careful selection of the right elements or else it might lead to dimension errors with even slightly distorted alignment.
4. Selection Box – BX
Working with Revit architecture modeling is made smoother with plan and 3D opened in the same window. This is where the Selection Box tool comes in handy and lets you check the selected element in its 3D view. With the selection box tool, the unselected elements become invisible in the view.
5. Hide in View – EH
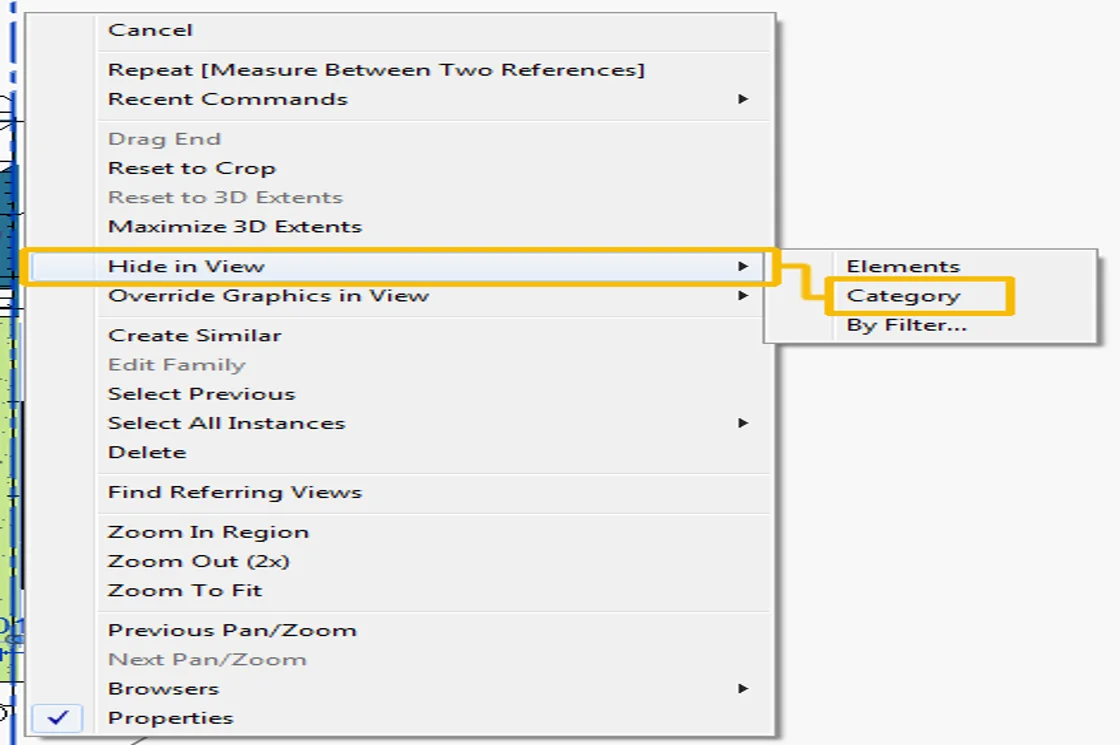
The hide elements tool helps clear the clutter while working. The tool is quite useful when working with Revit structural modeling as the grid lines or levels can be hidden while working. The hidden elements can be revealed at the end with the help of the Unhide Element tool (EU). Ensure to unhide the elements once the task is done as unless it is unhidden, else other people working on the same view won’t be able to see it either.
6. Pick Lines
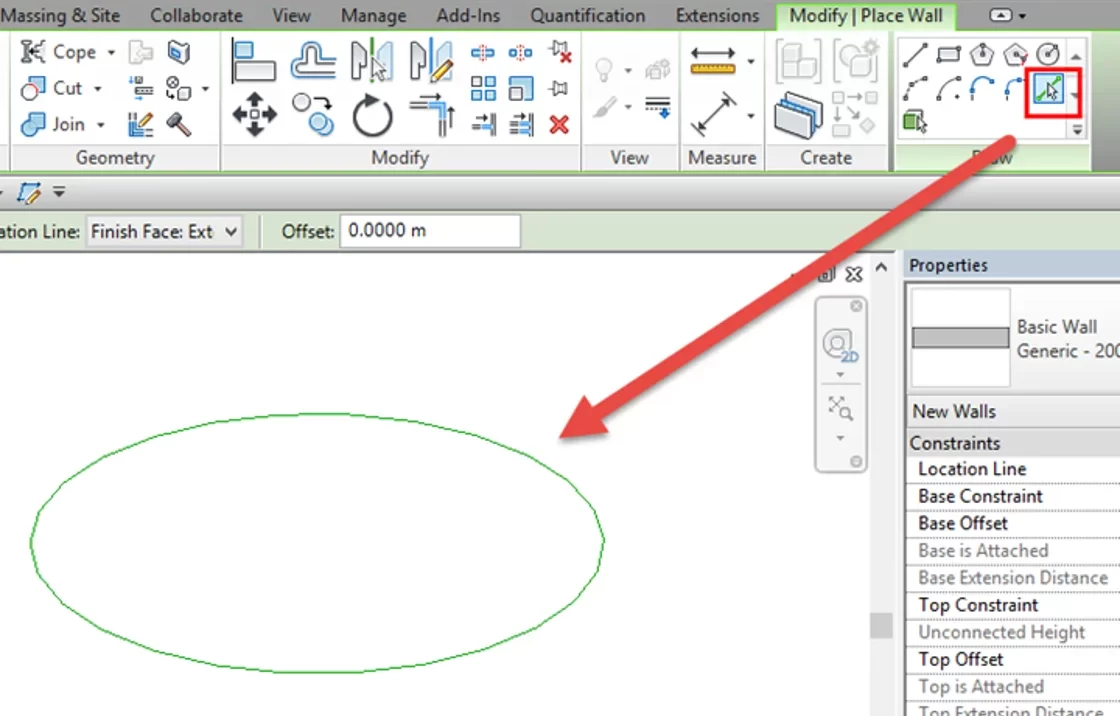
Generating walls or geometries is a breeze with the help of the Pick Lines tool. This is useful when a plan has to be generated on a CAD file. The linear boundaries from the linked file can be picked with the help of this tool and the walls will be generated in Revit.
7. Temporary Dimensions
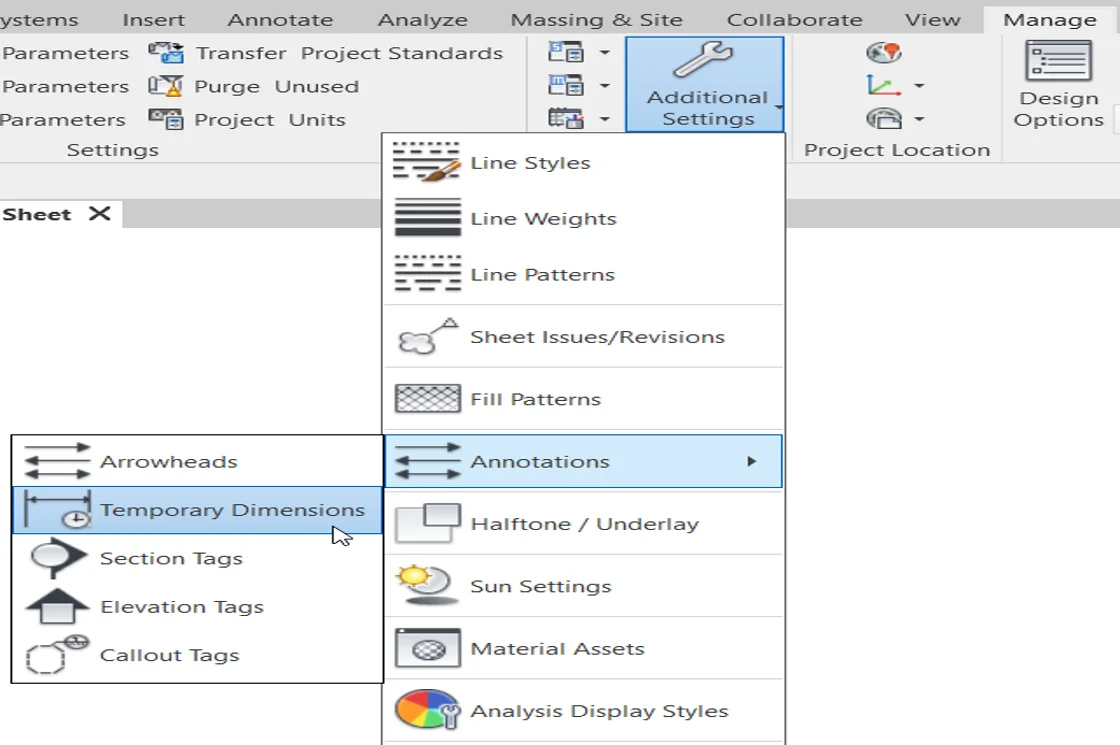
Revit architecture modeling makes the planning and designs quicker with its Temporary dimensions tool. With this tool, you can see the dimensions of the selected element with respect to its neighboring element. The dimensioning and analyzing of the design become easier and these can be transformed into permanent dimensions by clicking the icon appearing below the blue value.
8. Pin
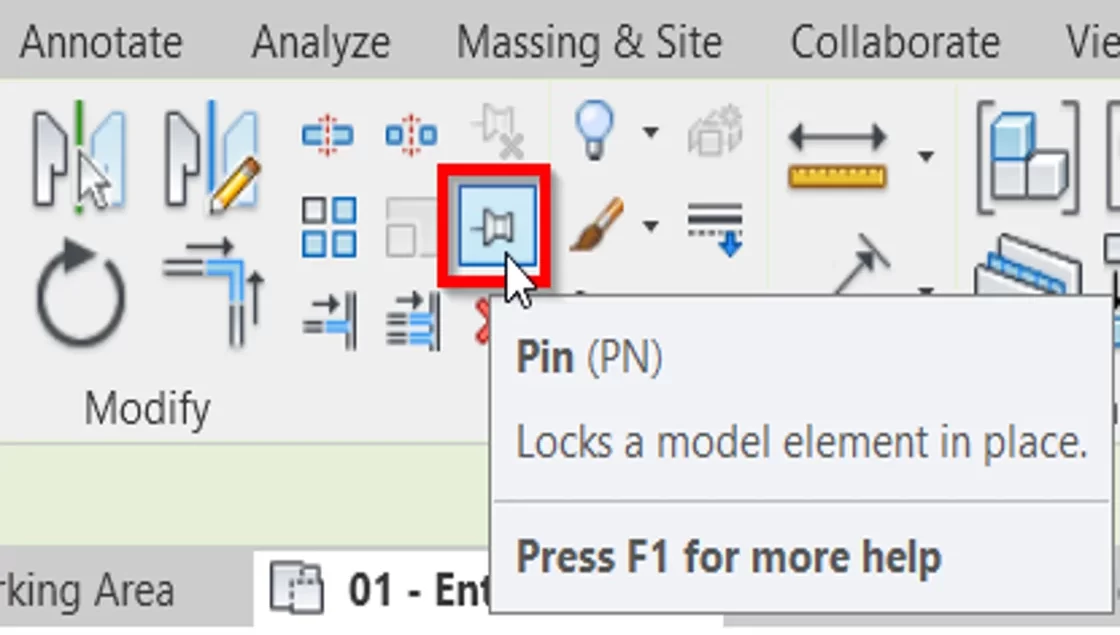
It’s a common mistake to delete or move certain elements while working. The easiest and most efficient fix to this issue is the Pin tool that pins the frozen elements. With this turned on, you can’t delete the elements unless they’re marked unpinned. This is especially useful with the gridlines and levels.
9. Override Graphics in View
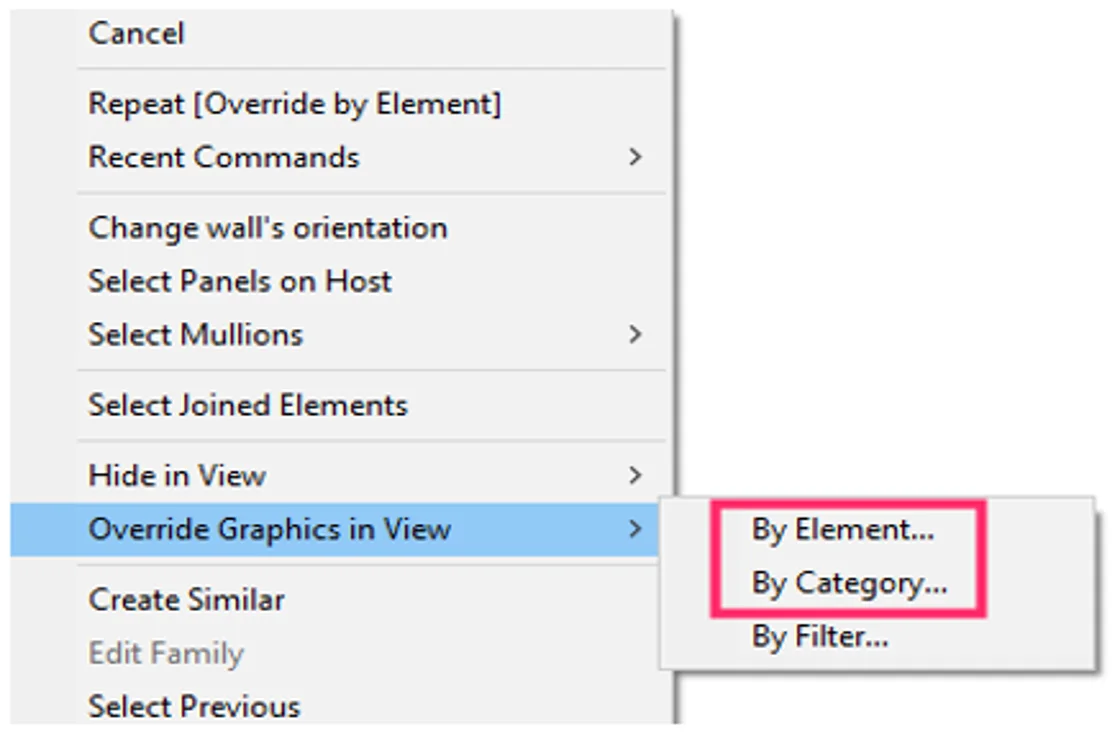
This Revit architecture modeling tool helps in varying the graphics of the selected elements. It enables users to override pattern, transparency, line styles, and halftone parameters for the selected element.
10. Filters
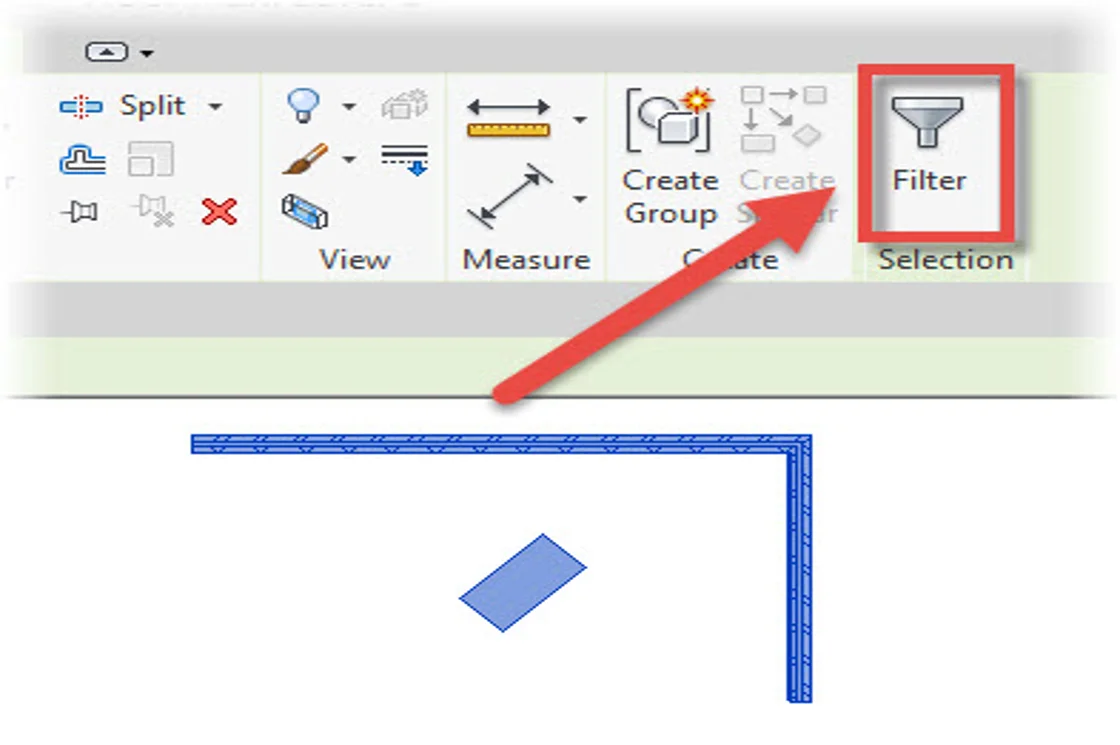
Filter is another tool associated with graphics in Revit architecture modeling. It helps in overriding the display and keeping control over the visibility of certain elements. It can either be applied to the selected elements or as per a rule identifying elements with the set parameter values. While working with filters, be careful about keeping certain elements visible in order to avoid the deletion of the wrong ones.
11. View Range
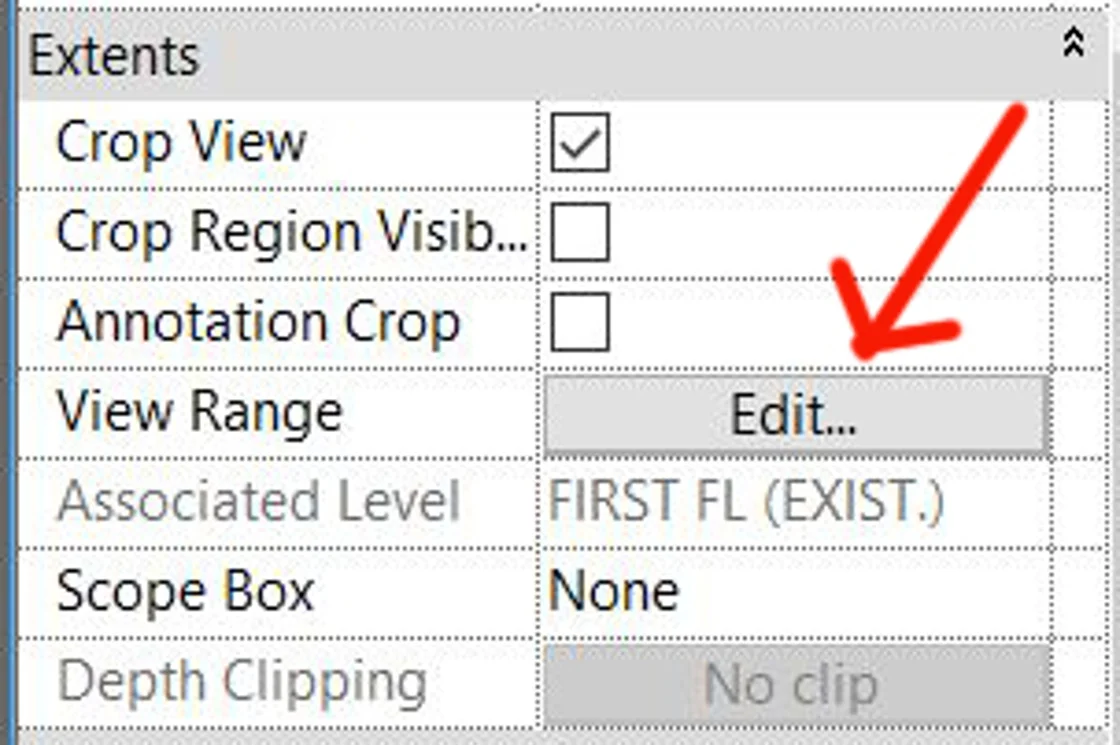
The view range in Revit modeling is the horizontal plane controlling the display of objects. It also regulates the visibility of elements shown in the plan view. It is also known as the visible range. Explore the tool and don’t make the mistake of selecting the wrong levels.
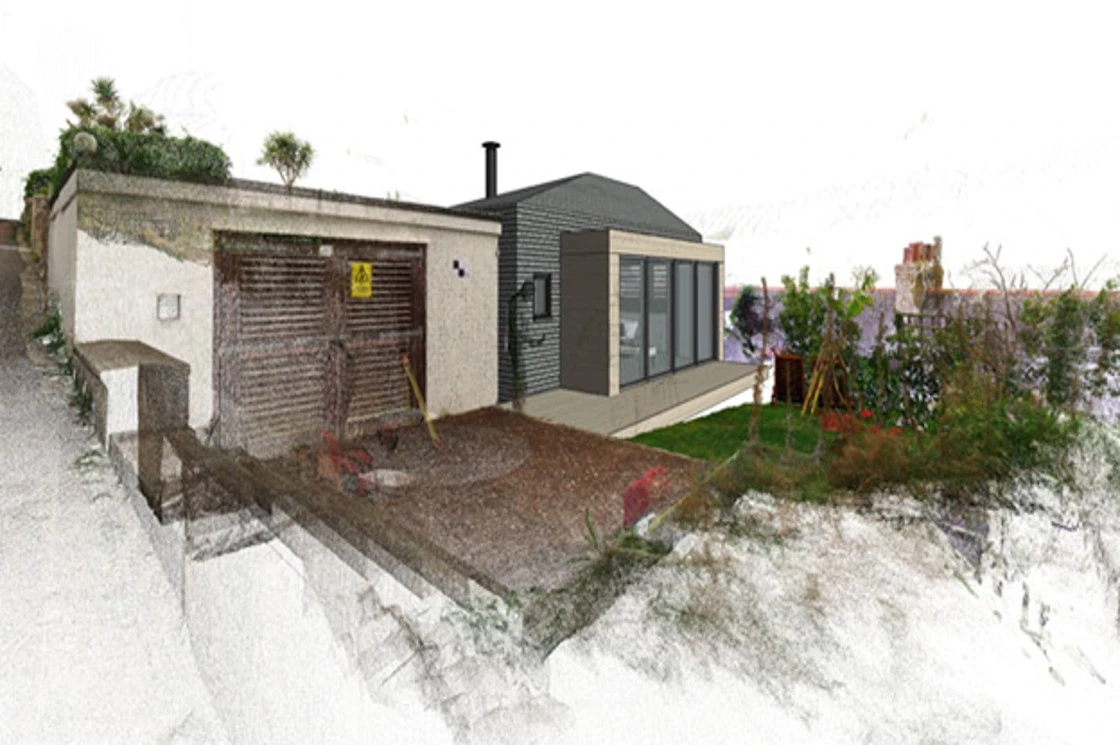
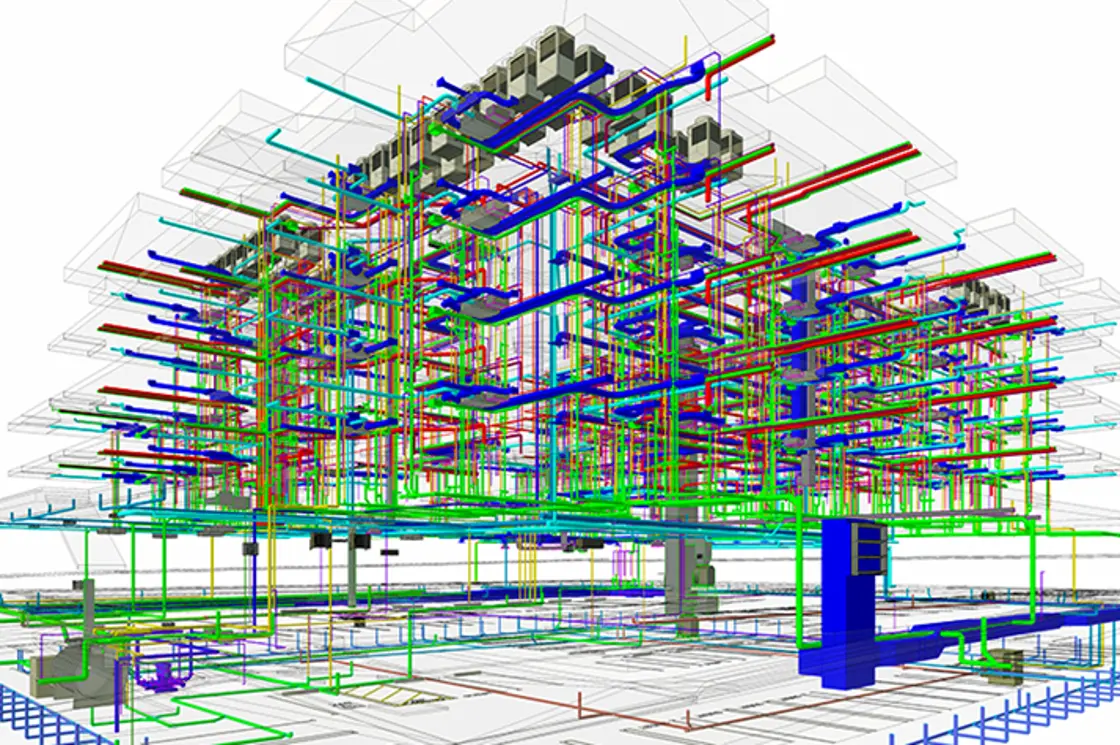
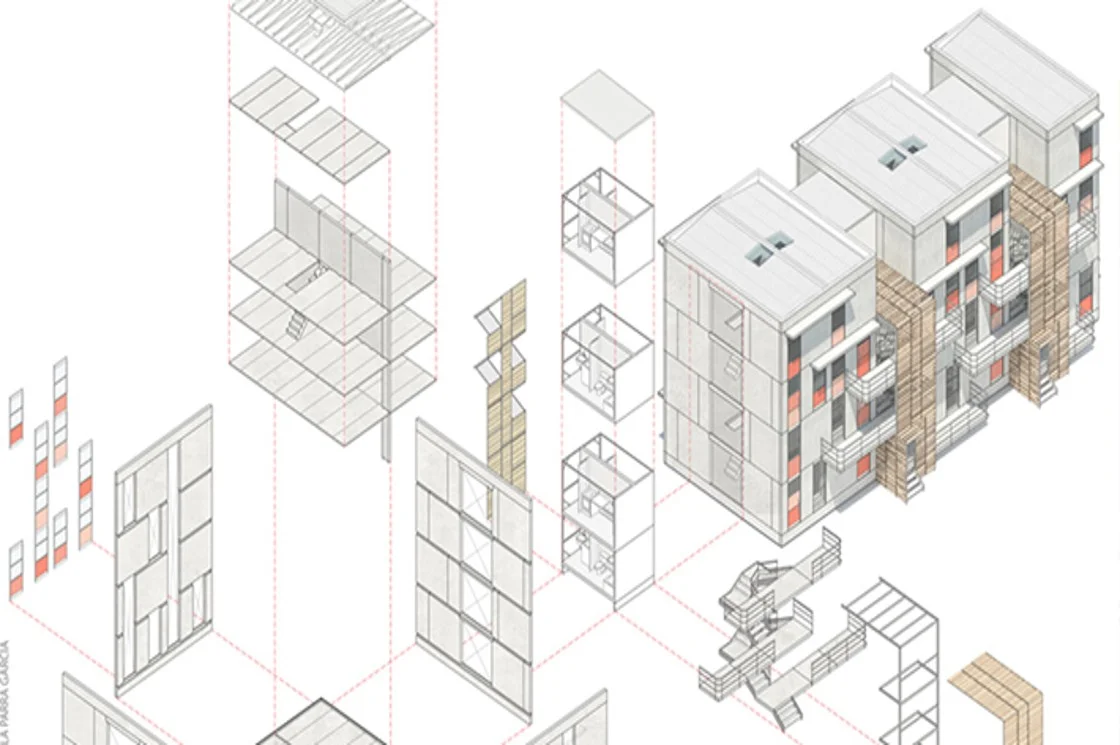
Master the Tools!
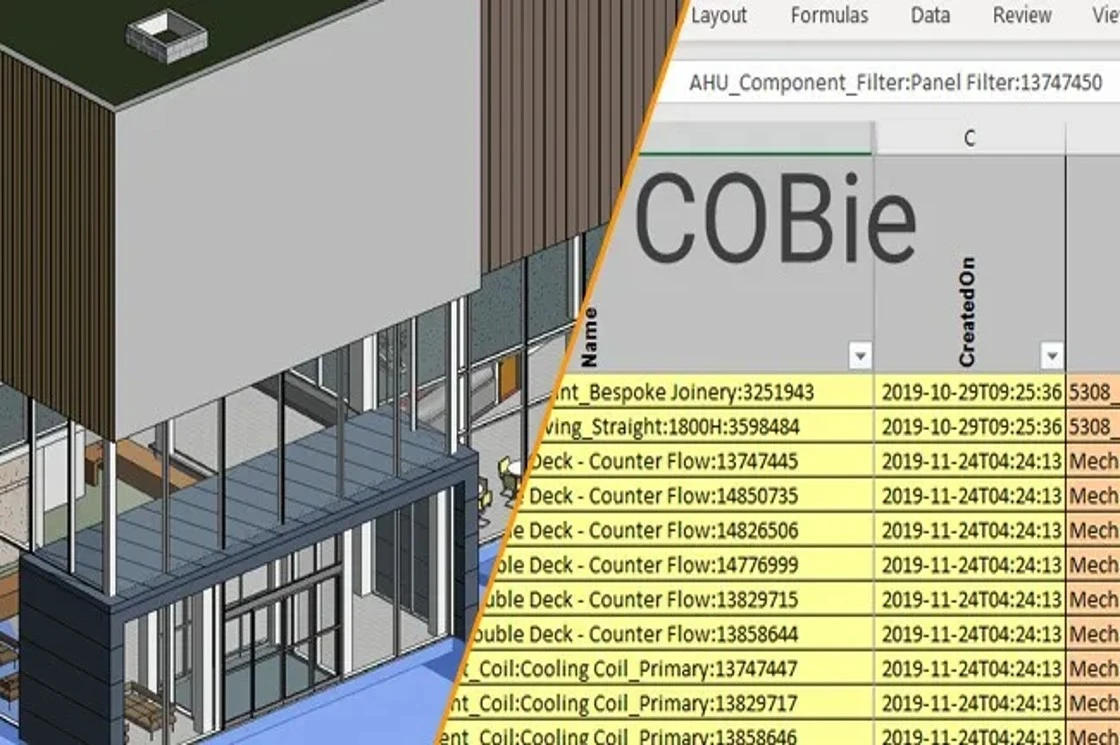
Source:8020 BIM
With the right tips and tricks, Revit architecture modeling offers you the luxury of saving time and ensuring on-time project deliveries. Practice the right tools and understand what all can be achieved from them. Know your Revit tools and start building marvels!
AEODC is operating in the global AEC industry as a catalyst in the digital revolution – assisting firms to optimize their potential using Building Information Modeling (BIM) technology for a better ROI. To know more, visit: https://www.aeodc.com.
Common Queries Regarding Revit Tools
1. Why is Revit considered one of the best software?
From Revit architecture to Revit MEP modeling, the Revit platform offers a strong set of tools that are much more than traditional 2D drawings. The platform enables smooth workflow right from the beginning of the project to its end.
2. What are the top Revit tools?
A few of the top tools used in Revit architecture modeling are grouping, filters, align, selection box, etc.
3. Is Revit easy to learn?
Although Revit is a tricky software, getting a hang of the right set of tools can help you master it.
4. How does Revit help in enhancing efficiency?
BIM modeling is known to enhance the efficiency of a project. Revit aids in the process by helping to establish better communication amongst teams, helping in visualization, and cutting down time and cost.